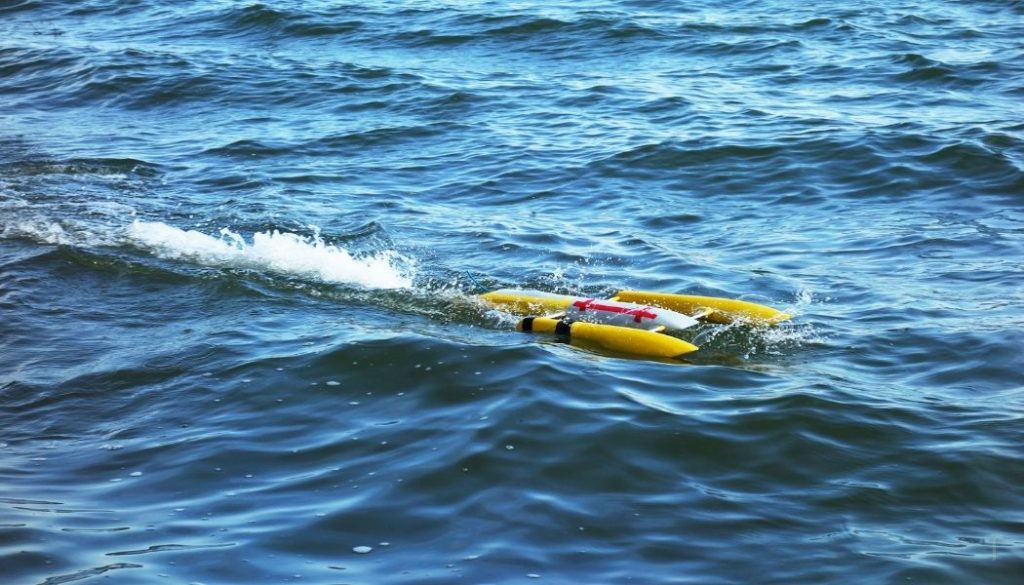
If you’ve recently purchased an RC Boat and are looking to make it last as long as possible, waterproofing it is a great step to take. By waterproofing the various parts that are sensitive to water, you’re ensuring a long life for your new remote-controlled boat. These preventative measures help protect the investment you’ve made if the boat becomes accidentally submerged in water.
Here’s how you can waterproof RC boats:
- Waterproof the receiver with a balloon or tape or spray.
- Waterproof the driveshaft with marine grease.
- Waterproof the hull with a resin.
In the rest of this article, we’ll go more in-depth with what you need to know to start waterproofing these different components.
How can you Waterproof an RC Boat?
We’ll cover a few different ideas to seal different parts of your new RC boat and provide you with step-by-step instructions to get started. With some simple supplies, you can get started at home today with your DIY waterproofing process.
1. Waterproof the Receiver With a Balloon or Tape or Spray
If you have a new RC boat, it’s likely that your receiver is already waterproof to some degree. However, if you have an older boat or are nervous about your newer receiver being exposed to too much water, you can easily provide some DIY protection. When it comes to waterproofing the receiver, there are a few different methods you can try at home today.
Use a Balloon
An old trick to help protect your receiver from moisture is placing it inside a balloon. With a regular balloon and a bit of electrical tape, you can form a small, water-resistant casing that helps give your receiver extra protection. These materials work well to provide a low-budget way to seal off your receiver from incoming water.
While many RC boating veterans swear by this approach, be warned that it is not 100% foolproof. It’s possible that a bit of moisture could enter into the balloon and be trapped there without your knowledge.
If you choose this DIY sealing method, it’s best to check your receiver from time to time, especially if it gets submerged underwater. If this happens, it’s wise to open the balloon, let everything dry completely, and seal again with a new balloon.
If you’re interested in waterproofing your receiver with a balloon, you can follow these simple steps:
- Gently stretch open the mouth of the balloon with your fingers. Once you have created a bit of space, guide the receiver through the neck of the balloon until it rests inside the main part. Be careful as you do this, as any sharp edges of your receiver could cause the balloon to tear.
- To guard against moisture, consider placing a silica gel bag inside with the receiver. These are the small packets you’ll find inside a box of new shoes. Silica is often used in keeping packaged goods dry. It can help if small amounts of moisture enter the balloon.
- Once you are satisfied with the placement of the receiver in the balloon, gently twist the neck of the balloon around the wires to tighten the seal. Use some electrical tape around the neck to secure this seal.
To see a guided tutorial on this process, you can check out this Youtube video by Spikers RC:
Use a Speciality Tape or Spray
If you’re hesitant about the balloon method, there are other ways you can protect your receiver. There are a variety of products on the market now that are made to seal electronics securely. This means that if your boat goes down and is submerged underwater for longer than you’d like, these products give your receiver the best chance of working once you retrieve and dry out your boat.
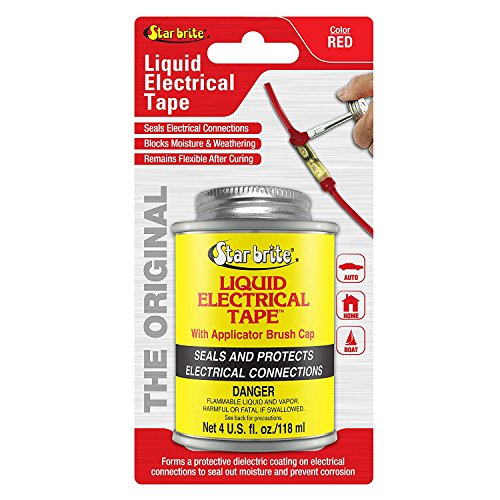
RC boat enthusiasts commonly use liquid electrical tape or sealing sprays to waterproof their receivers. Liquid tape, like Star Brite Liquid Electrical Tape , is commonly used by electricians to make a waterproof seal for electronics. This product comes with a small applicator brush that you can use to paint on the sealant exactly where it’s needed.
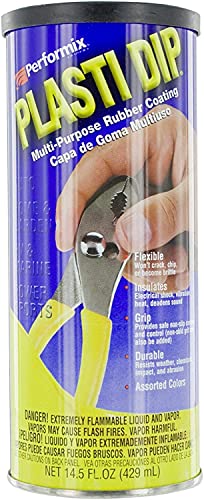
Plasti Dip Rubber Coating is another option that’s commonly used in the world of RC boats. This product is a thick, dark liquid that you dip your receiver into. When you remove it, your receiver will be completely coated with the product. Allow it to dry completely in order to have a perfectly sealed component ready to go out on the water.
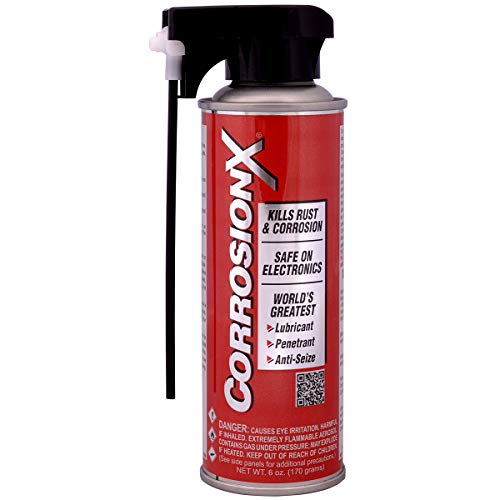
CorrosionX Corrosion Inhibitor is a popular aerosol option that you can use for waterproofing. You could spray it on the electronic board of your receiver only, being careful not to get the spray on your motor or any other components. This type of product goes on thin to avoid any interference but still offers the protection you need.
2. Waterproof the Driveshaft With a Marine Grease
If you open up your instruction manual upon receiving your new RC boat, you’ll likely find instructions to waterproof your driveshaft. If you’re not sure what a “driveshaft” is, look for the long, slender tube that connects your propellor to your motor. This piece is important for your RC boat because it carries the power from the motor to the propeller, getting your boat moving.
It’s important to make sure this is properly sealed, as you want to avoid any droplets of water traveling through the shaft and entering the motor. This kind of moisture could mean trouble for your brand new RC boat. By taking the time to seal it properly before heading out on the water, you are doing your best to protect your new, powerful motor.
According to the experts at RC Boat Magazine, you’ll need marine grease to get this job done. Using this type of grease will work as a sealant and give your driveshaft the protection it needs. Additionally, check all of the nuts or any other piece that can be tightened.
Ensure they’re all fitting snug to decrease the chances of water entering from any other location. Finally, you can add a washer at the end of the shaft with the propeller as additional protection.
3. Waterproof the Hull With a Resin
If your RC boat is brand new, the hull should be ready to go into the water without letting water in. However, if your hull is starting to wear out and you notice some small leaks on the inside of your boat, waterproofing it will go a long way to protect the important electronics stored inside.
Depending on your preferences, you can choose between an epoxy resin and a polyester resin for this part of the waterproofing process. You’ll want to thin your resin of choice, likely choosing between alcohol or acetone.
When you’ve reached the right mixture, handle your resin carefully and apply a thin coat to the interior of the hull. Be sure to apply well to any spots that have signs of leaking or water damage.
While you’re waterproofing your hull, make sure to double-check the electronics stored on the inside. Ideally, these are securely fastened to the inside of the hull, where they can be safely stored. If you notice any of them have come free, take time to secure them again. The better you can care for the many components of your RC boat, the longer it’ll last.
NOTE: Keep your resin of choice on hand to make small touch ups as necessary. Anytime you notice your boat taking on water, you can repeat this process in order to keep your hull sealed and all of your electronics dry and working properly.