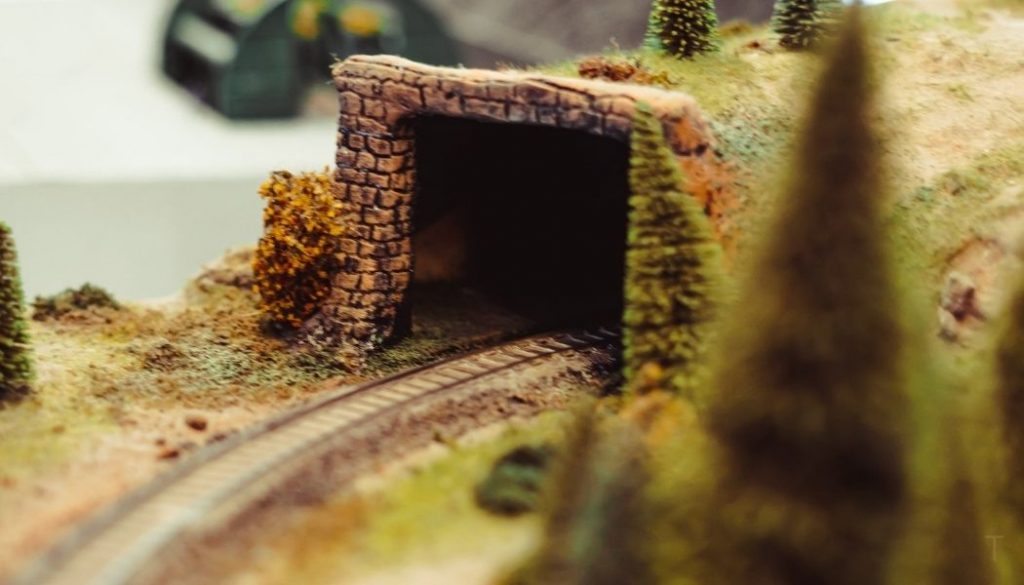
Railway model making is a fun, immersive hobby that involves constructing a miniature railway track for miniature trains. One of the most important aspects of any model building venture is to make the model look and function as realistically as possible. Adding railway tunnels to your railway track is a great way to make your model railway track more realistic and engaging.
To make a model railway tunnel, use insulation foam, styrofoam, or papier-mache. After cutting out the main tunnel structure, you should use decorative materials like static grass, paint, and foliage to decorate around your tunnel. However, you can also purchase ready-made model railway tunnels.
In this article, I explore everything you need to know about constructing model railway tunnels, including the material you should use and special considerations.
How do you Make a Model Railway Tunnel?
You can use several materials to make a model railway tunnel, including insulation foam, styrofoam, and papier-mache. The steps to making the tunnel are different depending on the kind of material you use.
In this section, I go through the steps to making a tunnel using these materials.
1. Using Insulation Foam

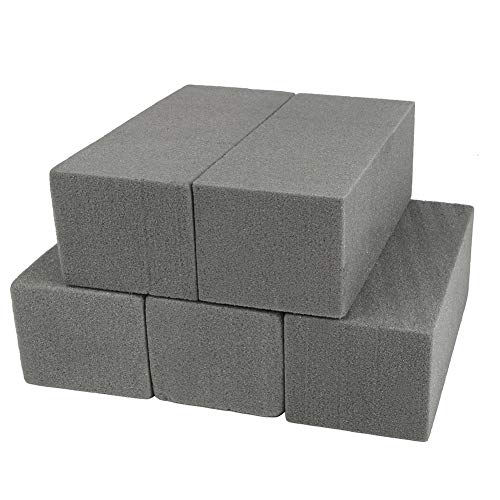
Insulation foam is used to seal walls, floors, and ceilings when a house is built, creating an extra layer of insulation between the house and the elements. It is an excellent material to use when making tunnels as it is flexible but sturdy.
Here are the steps to make a tunnel using insulation foam:
- Get a square or rectangular block of insulation foam.
- Try to visualize what you want your tunnel to look like – you may want it to be a standalone tunnel or a tunnel in the middle of a hill.
- Mark the tunnel shape using a pen or marker pen – Ensure you mark both sides of the insulation foam to know where the tunnel starts and ends.
- Carve the tunnel out of the foam – You can use a spoon to carve out the archway of the tunnel and a dessert knife to carve out the rest.
- Work by cutting out small blocks in the tunnel.
- Design and landscape – Once you are finished carving out the tunnel, use a pencil to mark out what design and landscape you want around the tunnel.
- Boulders design (optional) – If you want the landscape to resemble boulders, use a knife and spoon to cut curved boulder shapes around the tunnel.
- Mountain design (optional) – If you want the landscape to resemble a mountain, cut gentle slopes out of the insulation foam around the tunnel.
- Decoration – Use paint, static grass, and other materials to decorate around your tunnel.
- Fixing tunnel – Use glue to fix the tunnel onto the model baseboard.
- Place your tunnel – Make sure to place the tunnel over the railway track that you have laid down on your baseboard.
2. Using Styrofoam
Styrofoam is another insulation material that is sturdy but flexible. To make a styrofoam tunnel using sheets, follow these steps:
- Build the sides of the tunnel by stacking up styrofoam sheets. Create two stacks of sheets that are parallel to each other, leaving enough space for your train. To ensure you have enough space, place your railway track on the baseboard and stack the styrofoam sheets on either side of the railroad track.
- Once the sheets are stacked tall enough, glue them together and into place on your model baseboard. Place a flat sheet of newspaper between each styrofoam sheet to make your styrofoam tower more stable.
- Cover the stacks with another sheet of styrofoam.
- Use a knife to cut the styrofoam tunnel into a curved shape.
- Use static grass, paint, and other construction materials to decorate your tunnel.
3. Using Papier-Mache

Finally, you can choose to use papier-mache, a pulp of paper and water, and a cardboard or metal tube to construct your tunnel. Follow these steps:
- Find a cardboard or metal tube that is large enough to serve as your train tunnel
- Trim the tube to the size you need and then fix it on your baseboard.
- Prepare your papier-mache mixture and then use it around the tube to create scenery such as boulders and hills. You can place papier mache pieces on top of the tube as well as around the sides.
- Allow the papier-mache to dry and then decorate or paint it using static grass, boulders, and other model materials.
- Fit the train tracks into the tunnel.
Tips When Making a Model Railway Tunnel
Choosing the material and using it correctly is one of the most important aspects of creating a model railway tunnel. However, you should also make sure you are getting the dimensions right and access your train if it gets stuck.
I explore other factors to consider below.
Ensure the Tunnel Is Big Enough To Accommodate Tracks and Trains
Before you begin to construct your tunnel, measure the width of the tracks you plan to use and the height of your trains.
Make sure that your tunnel is wide enough to comfortably fit the width of your train track and the height of your train. There’s nothing worse than discovering that your tunnel is too small – especially if you’ve already glued it onto your baseboard and decorated it!
Ensure You Have Easy Access to Trains in the Tunnel
If you have built a long tunnel, you run the risk of not being able to access your train if it derails or stops in the middle of the tunnel. However, when designing and building your tunnel, there are several ways you can make sure your train remains accessible if it is derailed:
- Cut a hole in your baseboard. Position this hole just beneath your tunnel so that if your train gets derailed, you can lift your baseboard and pull out the train.
- Cut a hole in the scenery around your tunnel. If you have built a mountain, boulders, or hills around your tunnel, cut a small hole in the decoration to reach the tunnel. Cover the hole with shrubbery that you can pull back when you have to access a train.
- Use tweezers or forceps. If your tunnel is relatively short, you may be able to pull out a derailed train with a tweezer.
Can You Purchase Ready-Made Tunnels?
If you have tried your hand at making model railway tunnels but are not happy with the results, you can also consider purchasing a pre-built tunnel. Here are some of my favorite models from Amazon.com.
WorldWar Scenics Tunnel Bridge

Benefits
This is a ready-made tunnel bridge with the following benefits:
- Aesthetically pleasing. This model resembles a wooden bridge-tunnel which adds a rustic, natural theme to your railway model. It’s perfect if you are adding it to a countryside scene.
- Pocket friendly.
Cons
- Users have noted that this model does not come with instructions, so that it may be a little complex for a beginner.
Specs and Availability
The main features of this model are:
- It measures 400 mm (15.75 in) length x 110 mm (4.33 in) height x 104 mm (4.09 in) width
- It is made with medium-density fibreboard (MDF).
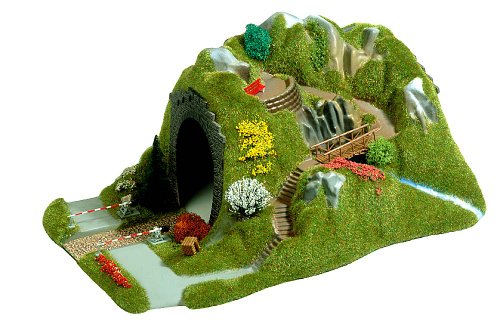
Busch 3018 Tunnel
Benefits
This is an excellent, elaborate railway model. Its benefits include:
- Aesthetic appeal. This beautiful model railway tunnel is set in the middle of a hill decorated with foliage, a river, and a park bench.
- It comes fully assembled and so can be used by beginners and experts alike.
Cons
This product is relatively expensive.
Specs and Availability
The main features of this product are:
- Dimensions of 249.93 mm (9.84 in) length x 738.12 mm (29.06 in) height x 225.044 mm (8.86 in) width.
- It has a Ho scale of 1:87.